First, create a secret for the connection to and from Nutanix and the cluster.
To Create a SSH into the Kubernetes Master Node, open a text editor to create the file for the secret. Copy and paste the following code into the file:
apiVersion: v1
kind: Secret
metadata:
 name: ntnx-secret
 namespace: default
data:
 # base64 encoded prism-ip:prism-port:admin:password.
 # E.g.: echo -n "10.6.47.155:9440:admin:mypassword" | base64
 key: MTAuNS42NS4xNTU6OTQ0MDphZG1pbjpOdXRhbml4LjEyMw==
Make the following replacements in the code:
- Replace prism-ip with the Cluster Virtual IP Address. If a Cluster Virtual IP Address is not configured replace prism-ip with the virtual IP address of any Controller VM in the cluster.
- Replace prism-port with the corresponding port.
- Replace admin_name with the name used for the admin role.
- Replace password with the password for the admin role.
Next, create a Nutanix ACS-ABS storage class.
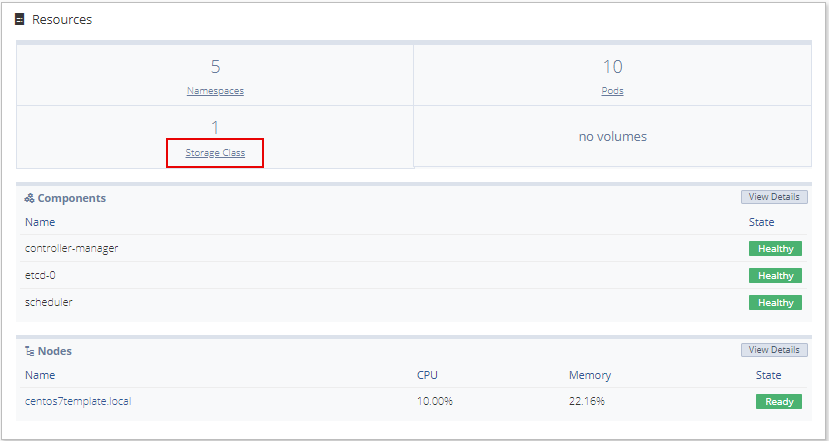
To create a Nutanix ACS-ABS storage class, open the cluster and select Storage Class from the Resources window.
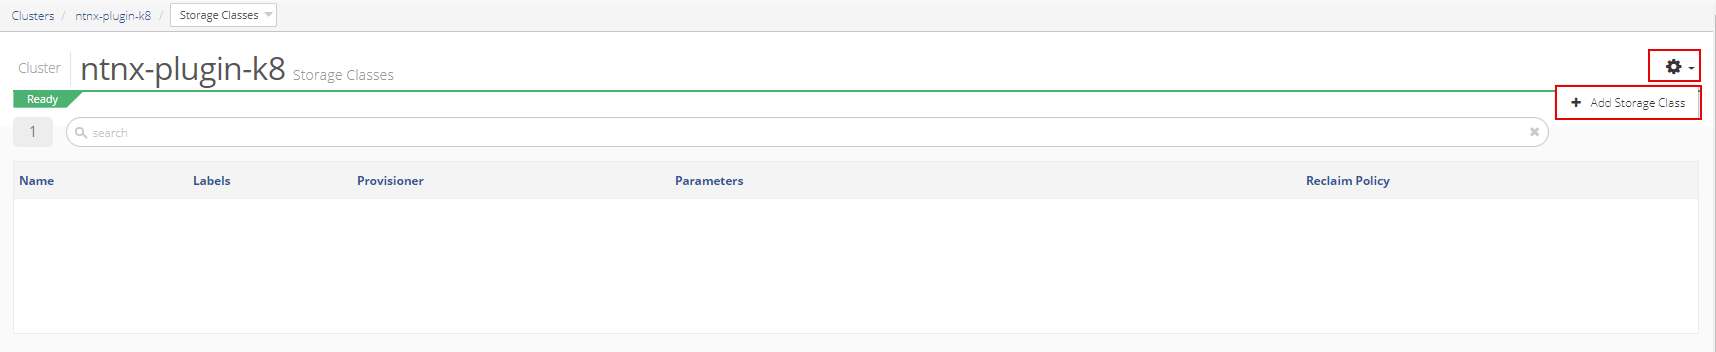
Then, click the gear in the top right corner and select +Add Storage Class.
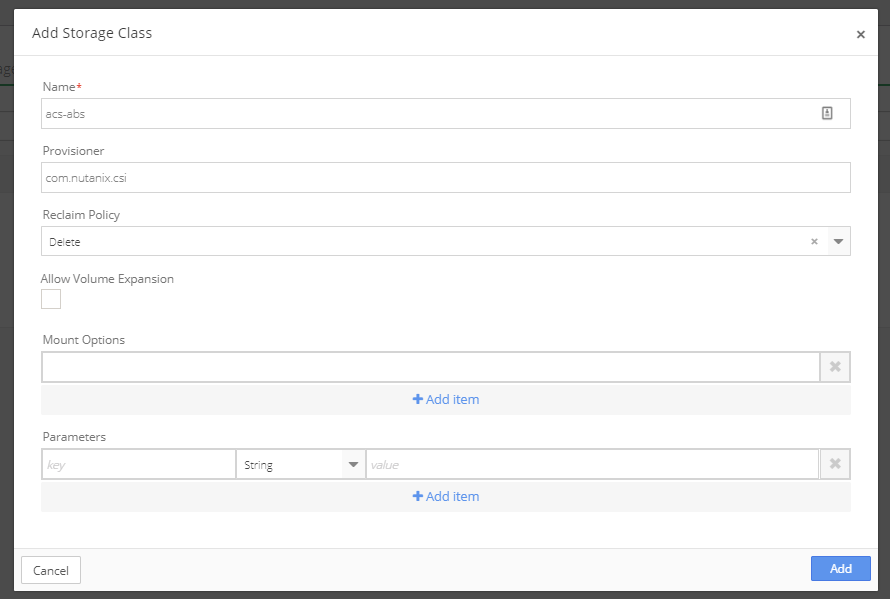
Complete the information in the pop-up window and click Add.
To create and configure the NGINX application, add the NGINX YAML to the Application Catalog.
Select on Catalog in the sidebar menu and then select Application Catalog. From the main Application Catalog screen, click Add Application.
Drop the NGINX YAML file into the upload box or select the file from the directory.
NGINX YAML:
apiVersion: apps/v1
kind: Deployment
metadata:
 name: server
spec:
 replicas: 1
 selector:
   role: server
 template:
   metadata:
     labels:
       role: server
   spec:
     containers:
     - name: server
       image: nginx
       volumeMounts:
         - mountPath: /var/lib/www/html
           name: mypvc
     volumes:
       - name: mypvc
         persistentVolumeClaim:
           claimName: claim1
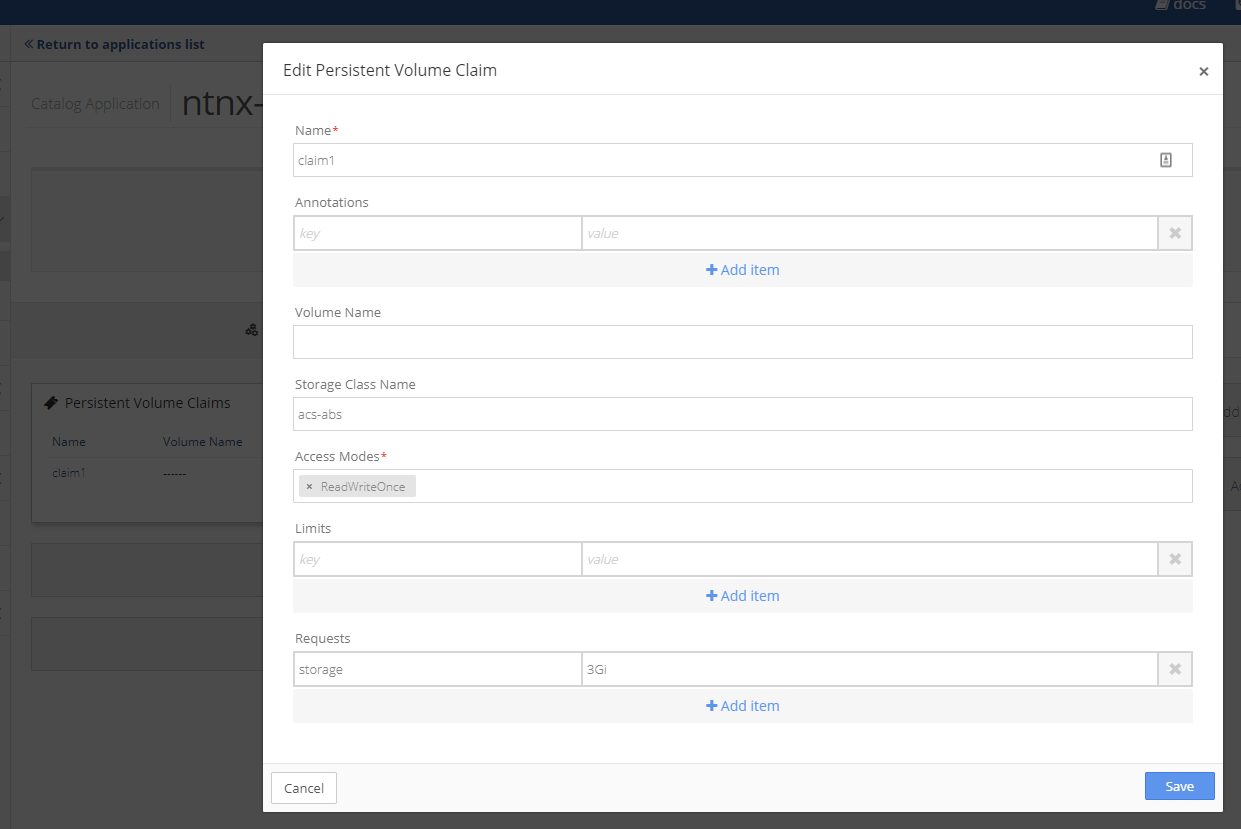
Next, configure the PVC information on the application by selecting the application, and then Config & Storage.

Select the Persistent Volume Claim and make the necessary edits.
Finally, deploy and view the PVC on the Kubernetes cluster and the Nutanix cluster.