To create a new Environment, select Environment from the sidebar menu. Then click, +Add Application and complete the information in the pop-up window. Click Add.

The new environment appears in the Environments menu.
In this example, a new mysql application is created and run in the new environment.
To create a new mysql Application, add the mysql YAML to the Application Catalog.
mysql YAML:
apiVersion: v1
kind: Service
metadata:
  name: wordpress-mysql
  labels:
    app: wordpress
spec:
  ports:
    - port: 3306
  selector:
    app: wordpress
    tier: mysql
  clusterIP: None
---
apiVersion: v1
kind: PersistentVolumeClaim
metadata:
  name: mysql-pv-claim
  labels:
    app: wordpress
spec:
  storageClassName: rook-ceph-block
  accessModes:
  - ReadWriteOnce
  resources:
    requests:
      storage: 20Gi
---
apiVersion: apps/v1beta1
kind: Deployment
metadata:
  name: wordpress-mysql
  labels:
    app: wordpress
spec:
  strategy:
    type: Recreate
  template:
    metadata:
      labels:
        app: wordpress
        tier: mysql
    spec:
      containers:
      - image: mysql:5.6
        name: mysql
        env:
        - name: MYSQL_ROOT_PASSWORD
          value: changeme
        ports:
        - containerPort: 3306
          name: mysql
        volumeMounts:
        - name: mysql-persistent-storage
          mountPath: /var/lib/rook
      volumes:
      - name: mysql-persistent-storage
        persistentVolumeClaim:
          claimName: mysql-pv-claim
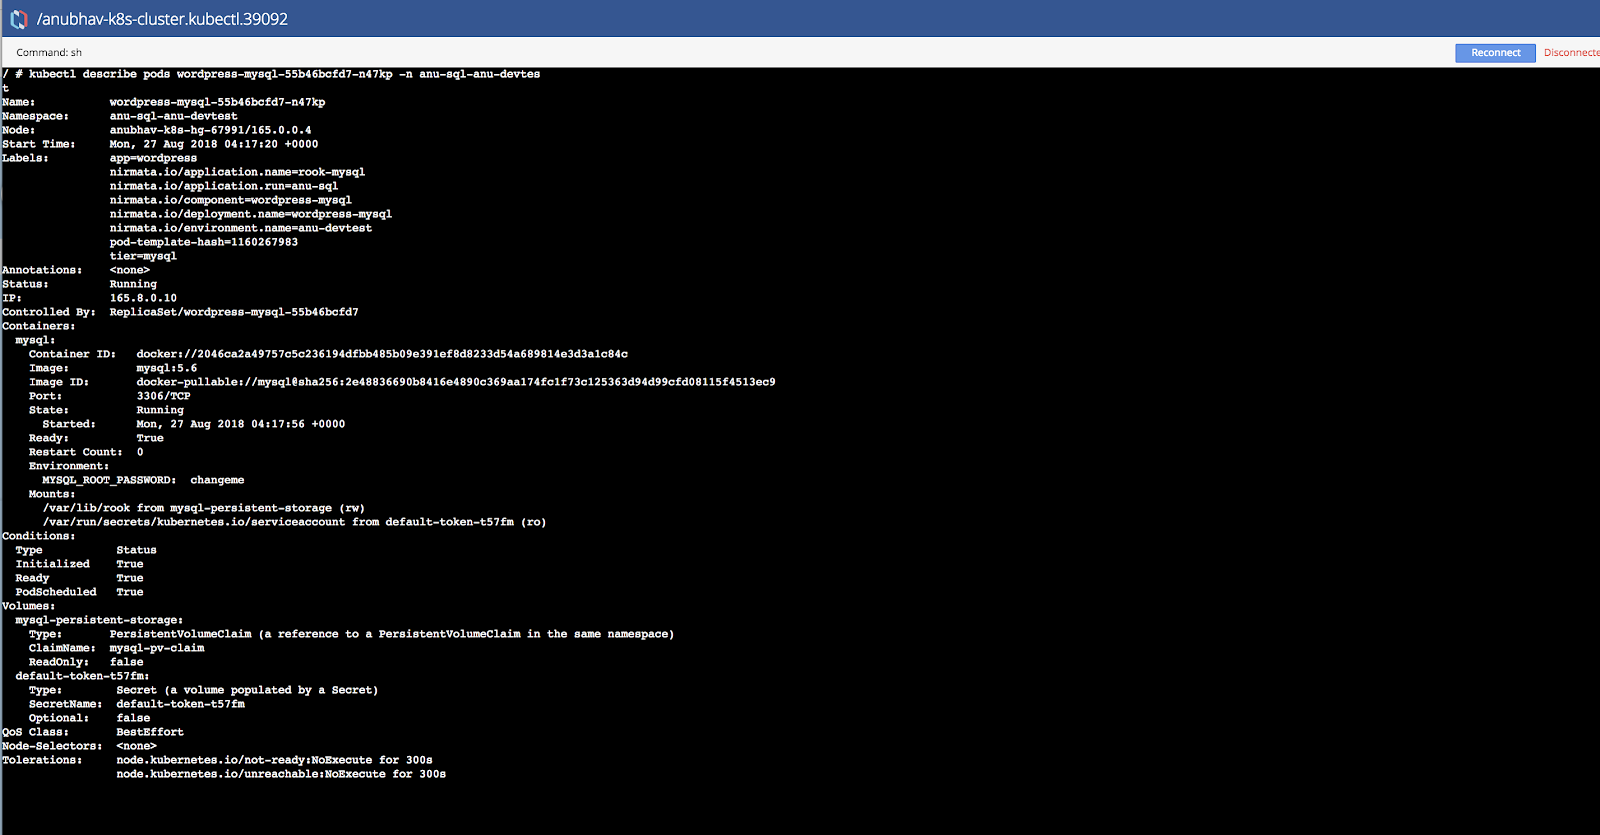
To add the mysql YAML to the Application Catalog, click on Catalog in the sidebar menu and then select Application Catalog. From the main Application Catalog screen, click Add Application.
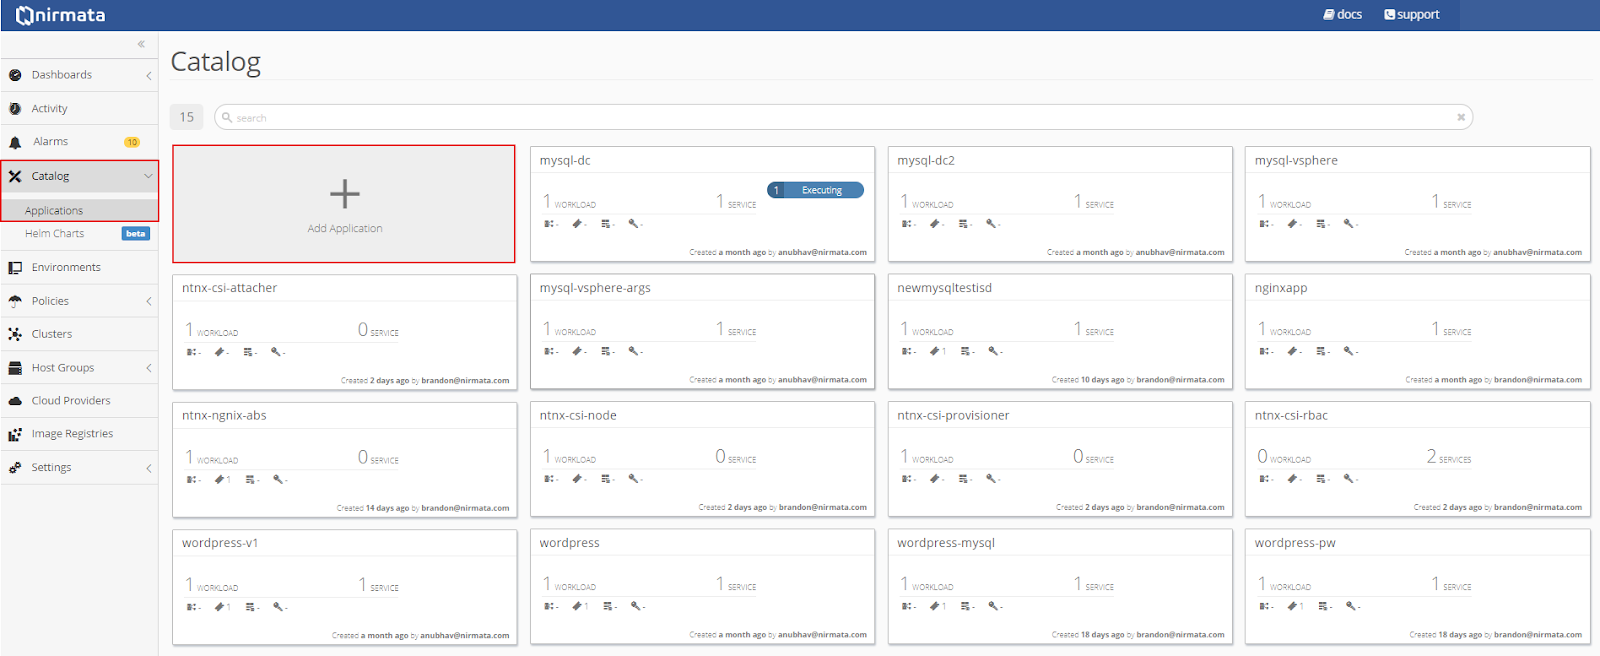
Drop the mysql YAML file into the upload box or select the file from the directory.
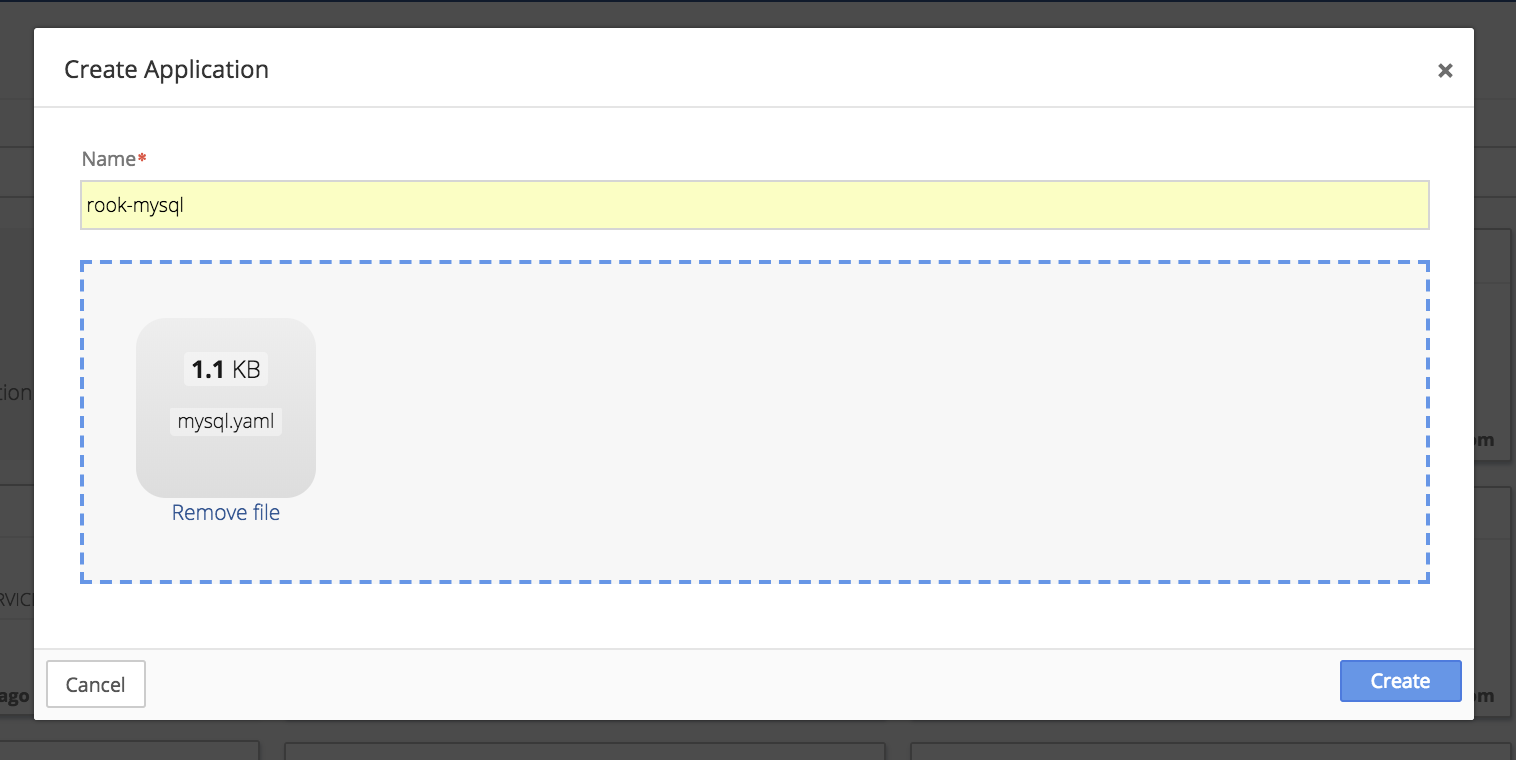
Run the mysql Application in the new Environment.
In the Environments menu, open the Environment that was just created. Click the gear in the top right corner of the Environments window and select the + Run an Application option.
Choose the mysql Application and click Run Application.
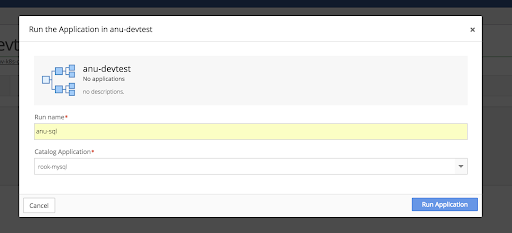
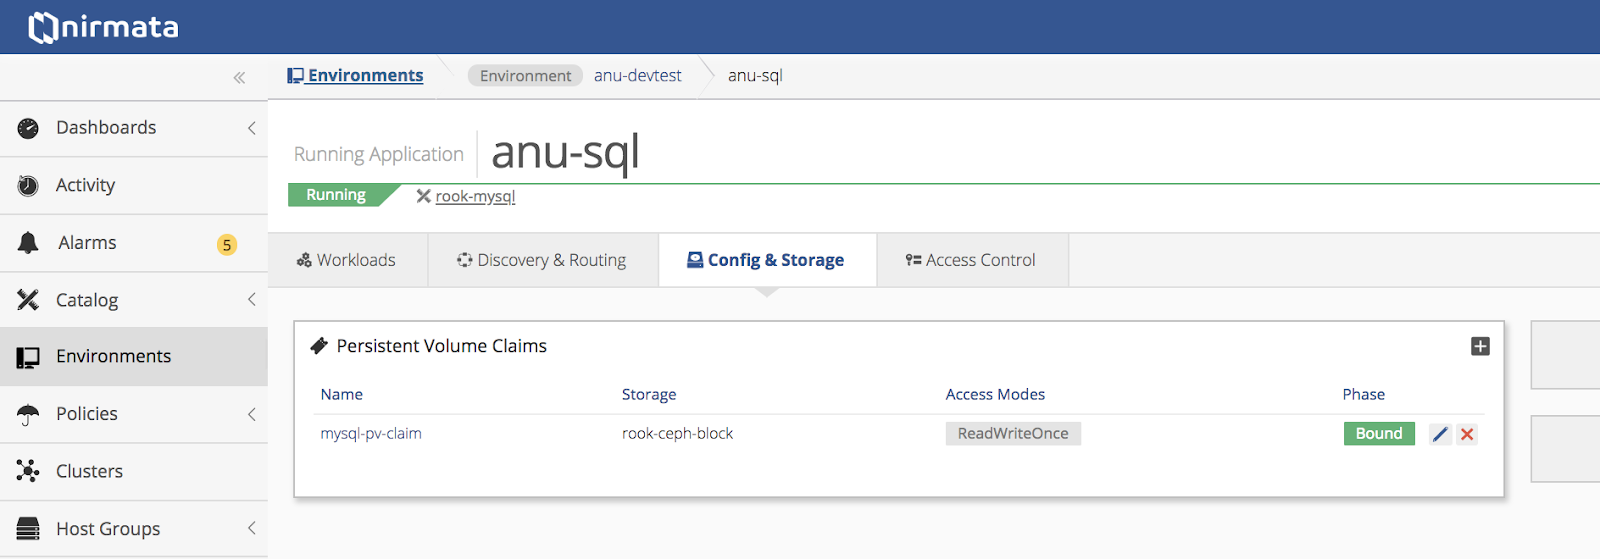
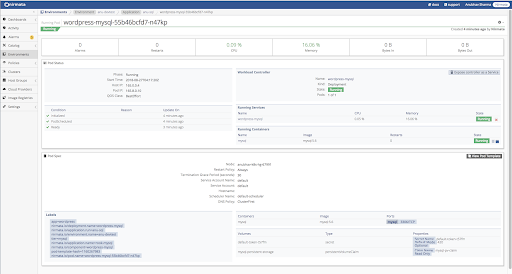
Verify that the Application is running using persistent volumes.
Verify workload status.
Verify persistent volume information.

Verify pod status from Nirmata shell.
